How Do You End Crochet
How Do You End Crochet - Below is a video i made doing this process. We also have a great instructional video on how to weave in ends crochet. Web weaving in vertically in this way is less likely to make the stitches bunch together than going horizontally. Following the three finishing steps outlined in this post will preserve all of your hard work and make sure your piece stands the test of time. Web learn how to end a crochet project with this tutorial. Weaving in ends means that you need to hide all the yarn tails from the start and end of your project. Web if you are starting your first crochet project that is row by row (e.g. Web that’s how you bind off a crocheted piece! Single crochet is the easiest to weave in since it’s the tightest stitch. To do that, just use your crochet hook or a tapestry needle to bring the tail yarn in and out through the spaces in the piece. To ensure your project looks polished, weave this tail back into several stitches of the. When your crochet pattern asks you to bind off, here is what you should do. Binding off your crochet project is simple. This tucks the tail away so you don’t see it and it doesn’t get in the way. I know i go through it only once as it is finishing off th. Weaving in ends means that you need to hide all the yarn tails from the start and end of your project. All you need is a bl. Weaving in the yarn end or tails, is done about the same way for almost every stitch pattern. A scarf or blanket), check out this tutorial to keep your project straight. Web in this technique, you run the tapestry needle either horizontally or vertically through your crochet project until you reach the end of your tail. Weaving in the yarn end or tails, is done about the same way for almost every stitch pattern. There are much less ends to weave in at the end, especially if you have a large project where multiple skeins were added.; Web this is especially important with the magic circle. Web when you come to the end of a crochet. To do that, just use your crochet hook or a tapestry needle to bring the tail yarn in and out through the spaces in the piece. A scarf or blanket), check out this tutorial to keep your project straight. The term bind off is used to describe how you tie off your crocheting properly, making a seamless transition at the. Web learn two easy and fast methods to weave in ends in crochet or knit projects that will never unravel. Web that’s how you bind off a crocheted piece! On this page, how to finish off crochet, you'll learn exactly what you need to know, whether you are a beginner or wanting to see different. Web if you are starting. Web also known as “fasten off,” “finish off,” or “tie off” in just about every crochet pattern, you’ll find instructions to “end off,” “fasten off,” “tie off,” or “finish off.” wondering what this means? Weaving in the yarn end or tails, is done about the same way for almost every stitch pattern. Web push the needle through the other side. Web one of the basics of crochet is fastening off your working yarn and then weaving in your ends to secure the end of your crochet project. Web how to finish off in crochet. Web weaving in vertically in this way is less likely to make the stitches bunch together than going horizontally. In the simplest of terms, to finish. Web learn how to end a crochet project with this tutorial. Weaving in the yarn end or tails, is done about the same way for almost every stitch pattern. On this page, how to finish off crochet, you'll learn exactly what you need to know, whether you are a beginner or wanting to see different. If you’re using crochet patterns,. Web one of the basics of crochet is fastening off your working yarn and then weaving in your ends to secure the end of your crochet project. Web weaving in ends as you crochet with two different colors why to use this method. Binding off your crochet project is simple. How to finish off crochet with borders So, join us. Web weaving in ends as you crochet with two different colors why to use this method. A scarf or blanket), check out this tutorial to keep your project straight. Thread the yarn tail through the eye of your chosen tapestry needle.if you’re struggling, try using a needle threader. With your needle and yarn on one side, put the needle under. Now all you need to do is weave in the ends of yarn that stick out so you have nice, neat edges. The ends will be concealed inside the stitches so there is a fat. For instance, if you started out weaving. Want to know how to do it? Web caron simply soft, neon pink: Web you want to weave in different directions, horizontally and vertically. Web push the needle through the other side of the gap in the row. There are much less ends to weave in at the end, especially if you have a large project where multiple skeins were added.; When you are done, be sure to count your stitches to ensure. You will follow, or mimic, the path of the stitches for half double crochet, double crochet, cluster stitches and all the fancy stitches too. Binding off your crochet project is simple. So, join us as we learn the art of ending crochet projects. Once your last stitch is fastened off, you can finish your crochet project. Depending on the size of your crochet project you can have just 2 tails to hide (1 end of the yarn at the start and 1 at. In the simplest of terms, to finish off, you would need to go through your crochet work and hide every loose yarn tail. You can do this once or several times before switching horizontal or vertical directions. A scarf or blanket), check out this tutorial to keep your project straight. Then you repeat the technique running in the opposite direction. Web one of the basics of crochet is fastening off your working yarn and then weaving in your ends to secure the end of your crochet project. I know i go through it only once as it is finishing off th. Web learn two easy and fast methods to weave in ends in crochet or knit projects that will never unravel. Web in this technique, you run the tapestry needle either horizontally or vertically through your crochet project until you reach the end of your tail. All you need is a bl. To do that, just use your crochet hook or a tapestry needle to bring the tail yarn in and out through the spaces in the piece. Web when you reach the end of your crochet round, slip stitch into the first stitch of the round to join it neatly.
How to End a Crochet Project Patchwork Posse

Crochet Finishing Don't Skip These 3 Steps TL Yarn Crafts

2 Steps How Do You End A Crochet Blanket? Update 12 / 2023

How to End a Crochet Project Crochet projects, Beginner crochet

Finish It!!! How to end Crochet intheround YouTube

row end tutorial Crochet instructions, Crochet lessons, Crochet edging

How to bind off and weave in ends crochet Itchin' for some Stitchin
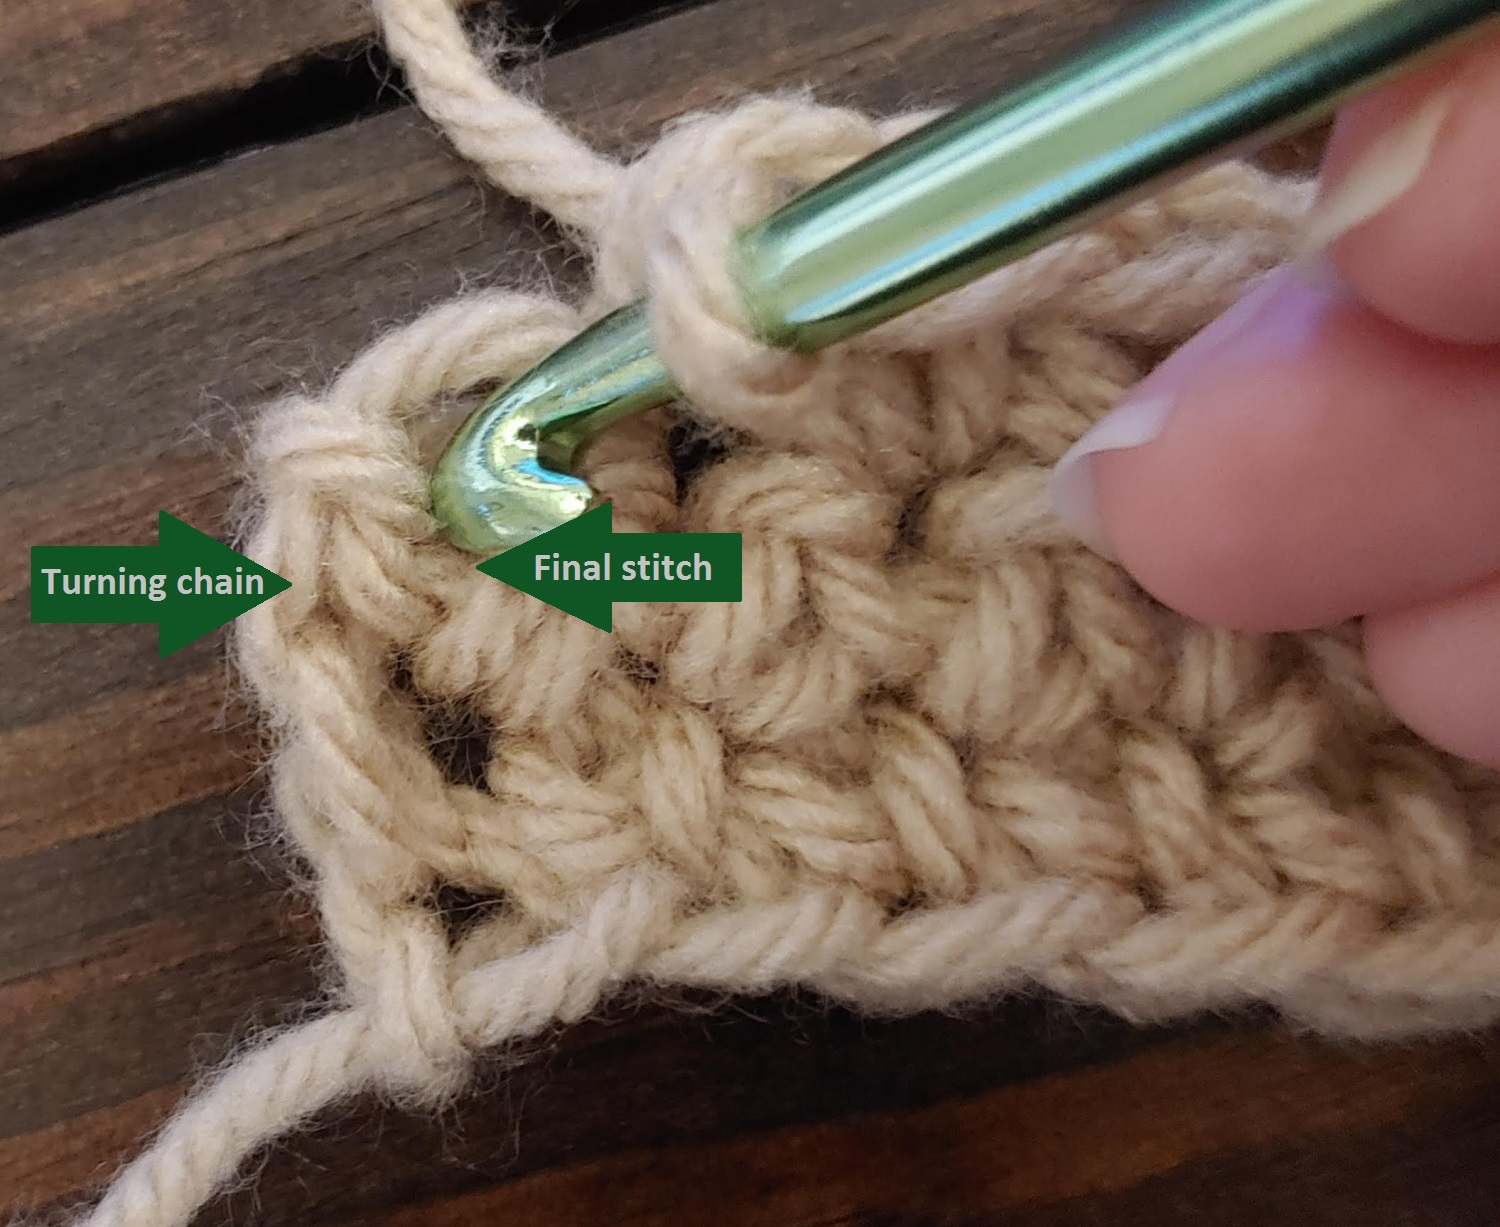
Crochet Rows How to End One and Start Another and How to Finish Off
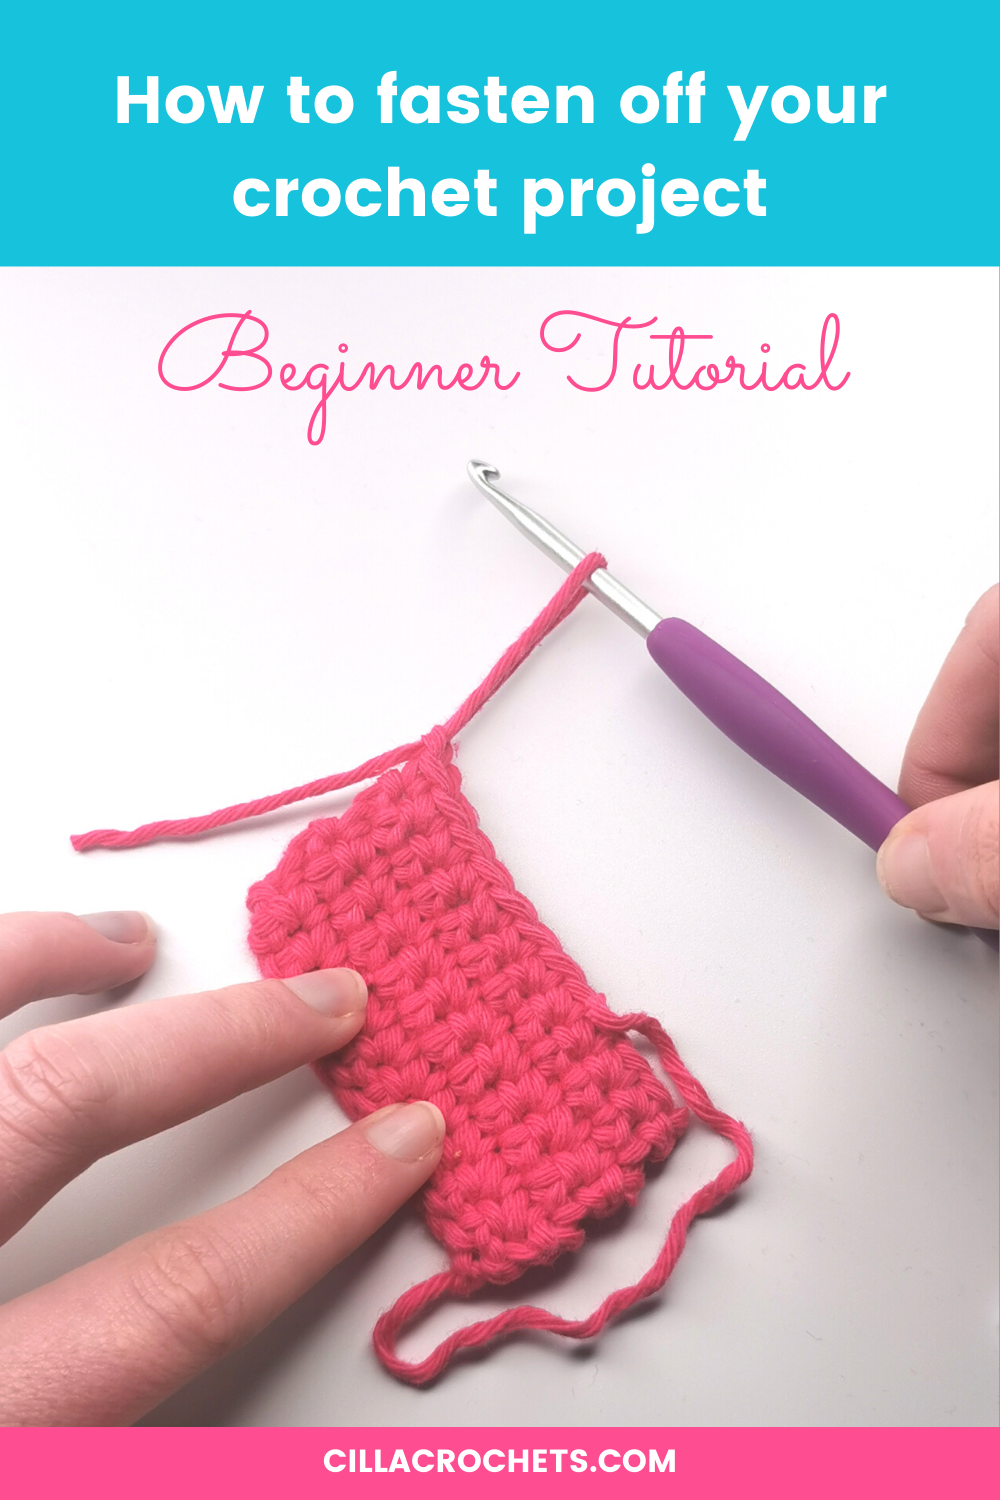
How to fasten off and finish your crochet project — Cilla Crochets

How to Fasten Off Crochet Tie Off, Finish and End
4.5/5 (25K Reviews)
Web Push The Needle Through The Other Side Of The Gap In The Row.
Weaving In Ends Means That You Need To Hide All The Yarn Tails From The Start And End Of Your Project.
Web When You Come To The End Of A Crochet Project You Need To Tie It Off Properly Or All Of Your Hard Work Could Come Undone.
Related Post: